
French Drains
Fassio Land Solutions offers French Drain installation as an effective & efficient method of yard / property drainage solutions.
A French Drain is an efficient and reliable solution for managing excess water in your yard or around your home's foundation. By directing water away from problem areas, a French drain helps prevent flooding, soil erosion, and foundation damage, keeping your property safe and dry.
Our team’s expertise, along with state-of-the-art equipment, help to ensure our commitment to delivering high-quality French Drain Installation while prioritizing our companies Values and Core Beliefs.

Key Benefits of a French Drain:
PREVENTING WATER DAMAGE:
French drains redirect water away from your home's foundation, which can help prevent basement flooding and structural damage from mold, wood rot, and foundation cracks.
A French drain uses a gravel-filled trench and a perforated pipe to channel water away from saturated areas.

INCREASING USABLE SPACE:
French drains can help create more usable space in your yard.
CONTROLLING EROSION:
French drains capture and redirect water away from vulnerable areas, which can help prevent topsoil from being washed away.
By controlling the flow of water, a French drain helps maintain the integrity of your landscape.
INCREASING PROPERTY VALUE:
French drains can add functional and aesthetic value to your property, which can increase its overall value.
VERSATILE INSTALLATION:
Suitable for a variety of applications, including yards, driveways, and basements.
How To Install A French Drain? Our French Drain Installation Process:
STEP 1: PLANNING AND DESIGN
Assessment: Evaluate the area where water accumulation is a problem. Identify the best path for the French drain to direct water away effectively.
Utilities Check: Call your local utility companies to mark any underground utilities before you start digging.
Permits: Check with local authorities to determine if you need any permits for drainage work. Our experts conduct a thorough evaluation of your property to identify the best location and design for the French drain.
STEP 2: MARKING THE TRENCH
Trench Path: Use spray paint, string, or garden hose to outline the path of the trench. Ensure the trench slopes away from the problem area to a suitable drainage outlet.
Slope Calculation: The trench should have a slope of about 1 inch for every 10 feet to ensure proper water flow.
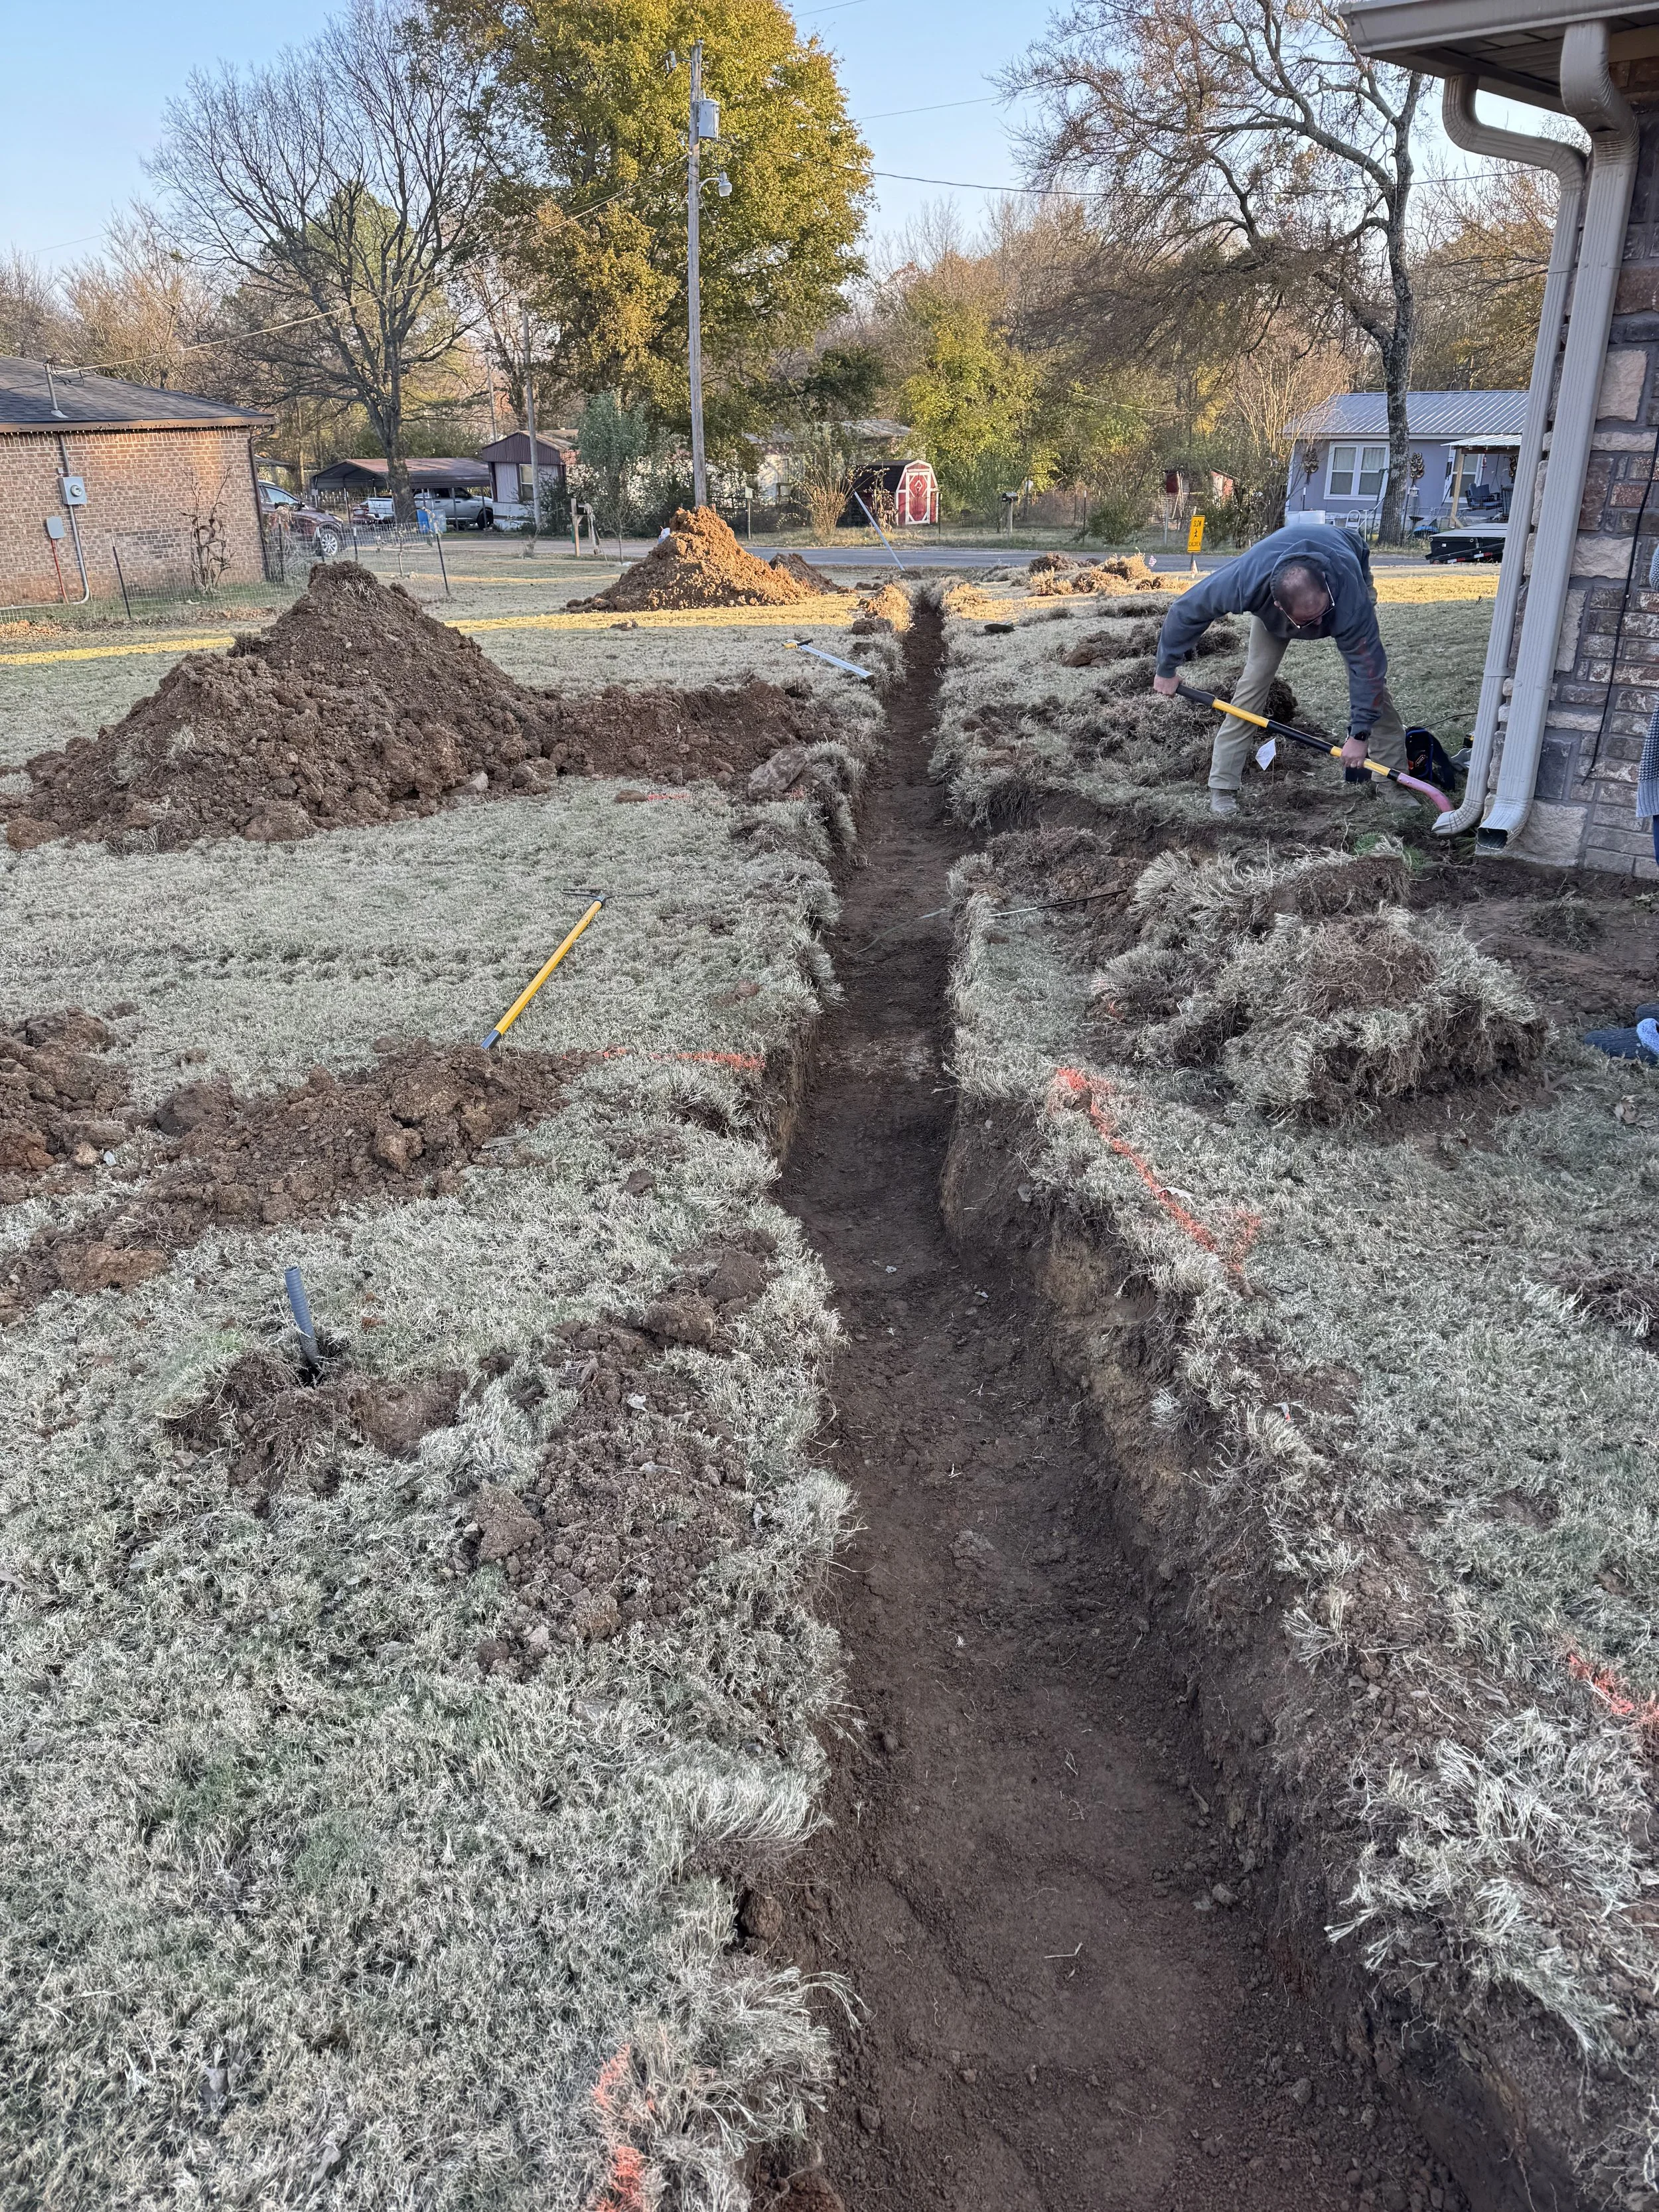
STEP 3: DIGGING THE TRENCH
Excavation: Dig the trench to a depth of about 18 to 24 inches and a width of 12 to 18 inches, depending on the severity of the water problem.
Slope Verification: Use a level to check the slope periodically as you dig to maintain the correct angle for drainage.
STEP 4: INSTALLING THE PIPE
Perforated Pipe: Lay a perforated drain pipe along the length of the trench, with the holes facing downward. This allows water to enter the pipe and be carried away.
Pipe Connection: Connect sections of the pipe using couplers and fittings as needed to ensure a continuous drainage path.

STEP 5: BACKFILLING THE TRENCH
Gravel Fill: Cover the pipe with gravel until it is completely surrounded and about 2 to 3 inches below the surface.
Filter Fabric: Lay landscape fabric over the top of the gravel to prevent soil from clogging the pipe and gravel over time.
Soil Cover: Refill the remaining space with soil, and if desired, lay sod or plant grass seed to restore the appearance of your yard.

STEP 6: FINAL INSPECTION
Testing: Run water through the drain to ensure it flows properly and check for any issues with the installation.
Cleanup: Clean up any excess materials and tools, and make sure the area looks neat and tidy.
Maintenance Tips:
Regular Checkups: Periodically check the drain for any signs of clogging or damage.
Clean the Pipe: If you notice any drainage issues, you may need to flush the pipe with a garden hose to clear any debris.
See What Our Customer’s Are Saying
Chris did a fantastic job on our drainage project! Would highly recommend this company for all your excavation and other projects. Great work at fair prices! Will definitely be using them in the future. Thanks Chris 😊

Karla K.

OUR PROCESS - LET’S GET STARTED!
REQUEST A QUOTE

FLS REP CONTACTS YOU

ON-SITE MEETING

ESTIMATE PROVIDED

ESTIMATE APPROVAL / REMIT DEPOSIT

SCHEDULE PROJECT